It's done!!! Not that it really took that long to do, but with 3 kiddos running around gone are the days of luxuriously starting a project in the morning and working tirelessly ALL DAY to see it completed. So this project was bit off in small chunks at a time and its finally finished! And all for around $100! Now we could have done this MUCH cheaper, but we did splurge a little... I blame my husband :) We were at Home Depot (where most DIY cost trouble starts!) and we saw the faux ceiling tiles there just begging for us to splurge on them. It might have taken longer than it should have to make the decision, but after MUCH hemming and hawing we decided, lets just do it, knowing it would make a big impact and cover some really gross paint. Its so hard to justify spending money on a rental property, but if I'm going to live here for several years more, its an investment I was willing to make... an investment my eyeballs appreciate very much.
Unfortunately I didn't take many "before" pictures and even went searching in my old photo files for when we did our initial walk through of the house and still found very few usable "before" photos. I even went to the Zillow website as I knew there were photos there and about fell over when I read the description of the property. Apparently our rental house boasts beautiful hardwood floors! I had no idea bubbling cheap laminate flooring counted as hardwood! Our house also boasts designer paint... which I guess if you call cheap flat paint that you can't wipe clean and shows EVERY stain in the world, then yeah.... its designer... But I digress. I didn't choose to show the photo from that site simply because it doesn't do the before part of this justice. It didn't show how the cabinets were also a cheap laminate product that were spray painted white without caulking all the cracks in first, or how the wall paint had absorbed all the oil from a year and half worth of living in it (the hood fan doesn't actually blow the exhaust out into anything other than right back into the kitchen). It also didn't show how the caulking around the counter-tops was so old and cracked that it had completely separated from the wall. But heres the best I could find for the "before" photos:
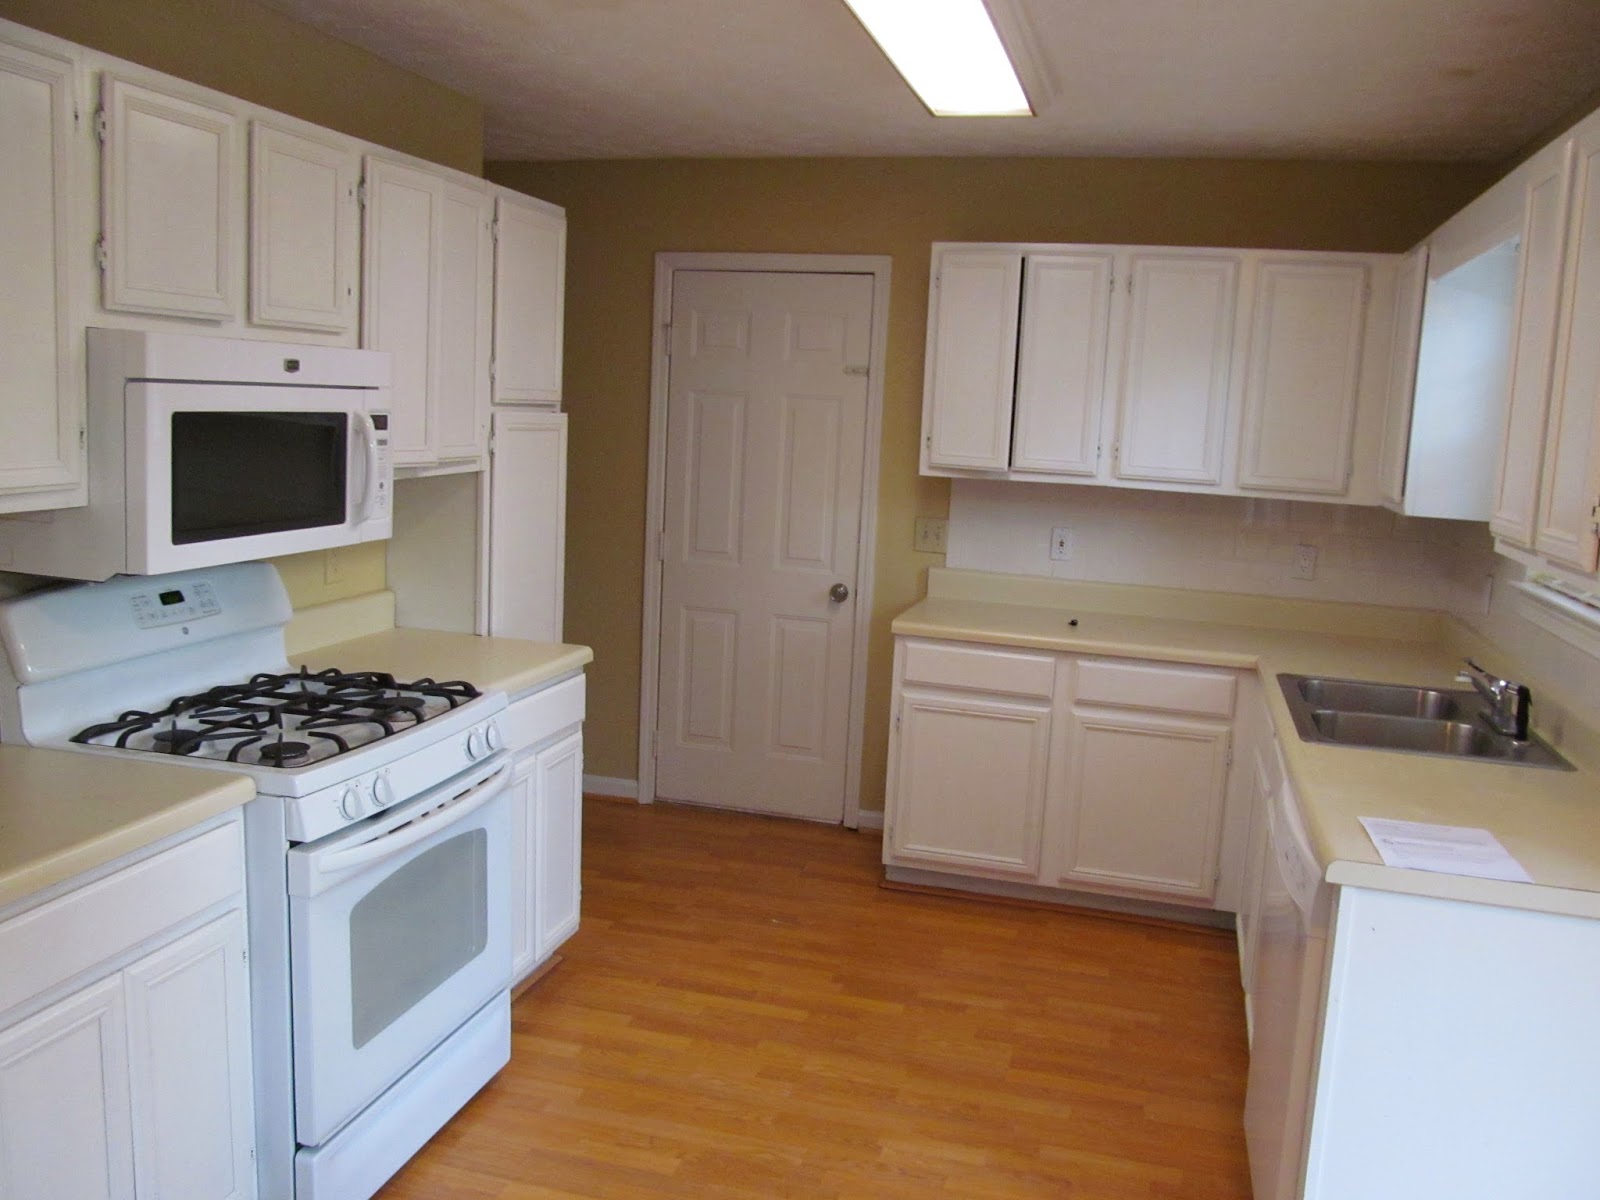
BEFORE
This is the best full kitchen photo I had from when we just moved in. Fresh wall paint, and cleaned up its really not so bad from far away, but the counter-tops were not in good shape and had many stains and knife marks. Mostly it was just boring, old and dingy.
 |
| The counter tops as good as they got. |
 |
| The cabinets directly above the hood fan have become greasy and GROSS |
 |
| Close up these cabinets aren't pretty. Poorly painted and flaking off. |
So I did my research and found an AMAZING solution to many of my kitchen whoas. CONTACT PAPER. I knew I had to properly paint the cabinets but the newly covered counter tops with contact paper makes the biggest impact in my opinion. The fresh paint, fresh caulk, fresh back splash and covered countertops make for a much more welcoming kitchen.
AFTER
 |
| The faux tin backsplash makes a big impact. Cost $20 per panel (we used 3 in the entire kitchen). I stuck them on using Scotch Clear Mounting Squares at $3 a pack (I used 2) and tacks. The tiles behind the oven fell down when the oven got hot so I nailed them in with tacks and that should take care of that problem. Metal outlet covers $3 each. |
|
|
|
|
 |
| Two rolls of granite patterned contact paper $12. (Found at Walmart) I also lined the cabinet wall next to the garbage and the cabinet wall next to where the baby sits with white contact paper for easy clean up. |
 |
| Paint and caulk $19 (If I were to do it again I'd choose an actual "white" paint chip. This is what I like to call "white from the can". I had a half can of white paint already and didn't want to fuss with matching colors properly so I just mixed them together.) |
|
|
 |
| We extended the faux ceiling tiles over the sink to tie in the look. |
 |
| I purposefully left the dishes in the sink too because this is real, people! There are 5 people using this kitchen and this is as clean as this sink will probably ever be! We do not live in a magazine and I refuse to make you believe I do :) (Although, in truth, I did hide the dirty fry pan on the stove and the old dish towels hanging from the oven...) | | |
|
|
|
|
|
 |
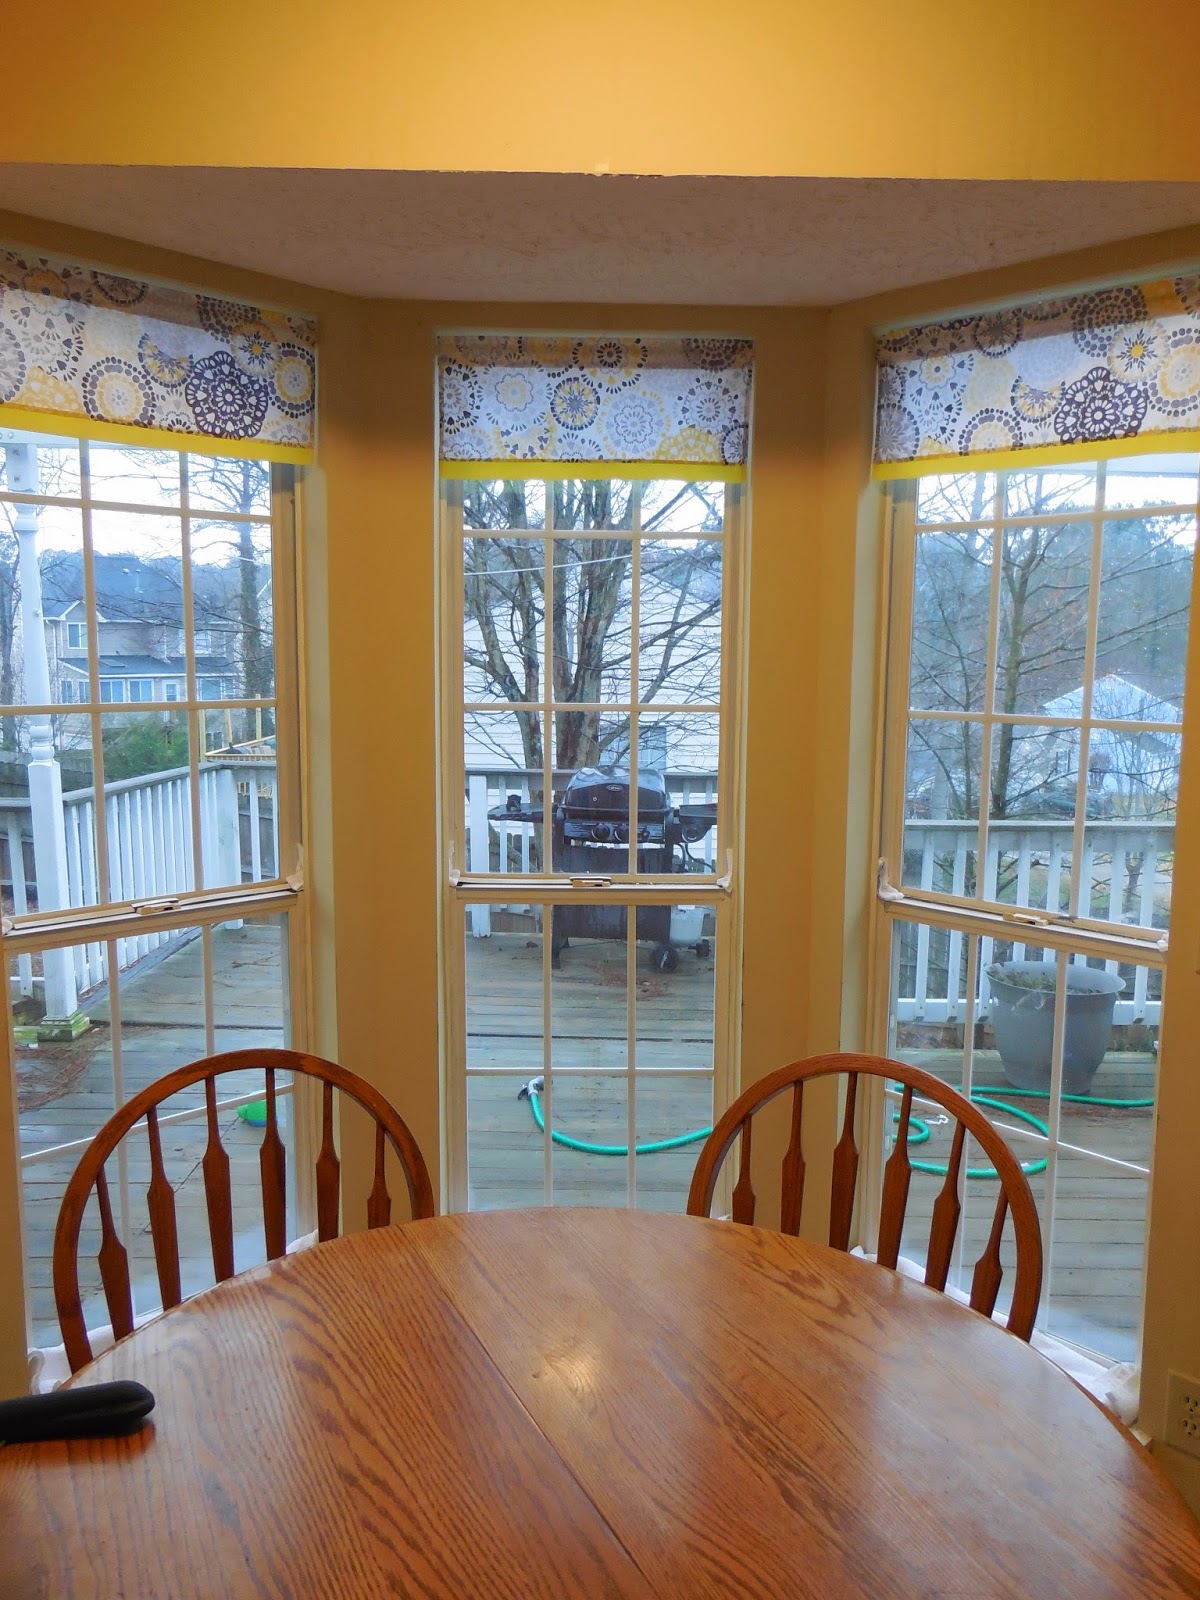
| Fabric for curtains/valances $8. Tension rods $3 each (we bought 4). Again, Walmart for the win. |
|
|
The full kitchen in all its glory. Again, just keeping it real, it might not be magazine worthy, but it doesn't make my soul die just a little every time I walk into it.

A close up of the faux granite contact paper. This was easy, but tricky to install (I don't know if it's possible to be both easy and tricky, but it was). The tutorials I read on it often suggested using a credit card to smooth things down with but I purchased a plastic "painting shield" to use that worked really well. If you read any tutorials on it they always suggest peeling and laying a little bit at a time as you go and I can't recommend that enough. This stuff is so great because you can patch work things together and you can't even tell. There are seams but they are pretty unnoticeable and any wrinkles or bubbles are hidden by the pattern. The thing that gave me the most trouble was the corners and edges, but even those aren't too bad. I was nervous about the durability of this solution but so far so good! Its really only been a few days but it seems to be unaffected by water from washing dishes or regular use of dishes on the counter top surface. I have read that it can start to look a little worse for wear after a year but at $12 for all the counter-tops, I think I can manage that!
So there it is folks! A rental kitchen that doesn't have to make you cringe! Take control of your surroundings and just cover it with contact paper!