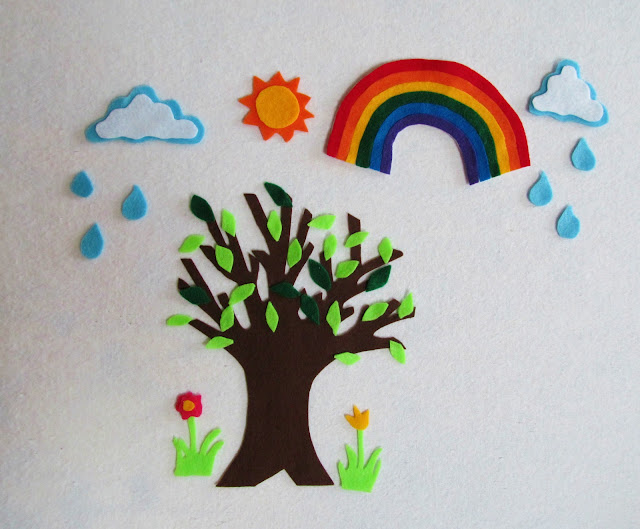
Well here it is, finally finished as promised, the seasons felt tree! This project was probably the easiest of all the felt projects I've done for Cyrilla's birthday. Other than the tree and the rainbow I didn't have to bother with creating any stencils for the other smaller pieces, which makes things go WAY faster.
If you're looking to recreate this some tips are:
- Draw out your tree first and create a stencil (on paper or card stock) instead of trying to free hand it, you'll save yourself a lot of felt that way :)
- Make your leaves simple. The oval shape is so easy to do and you'll be doing tons of them. I thought about trying for a maple leaf look, but that wouldn't be worth my time.
- Because your creating a nature scene things don't have to be perfectly uniform, as they aren't in real life, so don't stress about everything looking exactly the same.
- I created a stencil for the rainbow by cutting out a large rainbow size piece of card stock and then I cut that in half (in the shape of the arch of the rainbow) and then each half into arched thirds (there are six colors). I then labeled each strip as to what color it needs to be (to avoid mistakes and confusion) and cut them out of their prospective colors. I then put the pieces onto a larger piece of white felt and lined them up as a rainbow should look and glued them on one by one to the white felt (I peeled half of a color strip back, glued, pressed and then did the other side so that I didn't have to fiddle with trying to reposition an entire strip and the rainbow stayed intact the whole time.) I then cut the rainbow out of the white felt and trimmed the bottoms to make it look uniform.
Well without further ado here is the Seasons Felt Tree:
 |
| Spring |
 |
| Summer |
 |
| Fall |
 |
| Winter |


No comments:
Post a Comment